A lift kit can make your car look cooler by giving it some extra height. It can also make it nicer to drive around, as the added height will make you feel like you’re towering over all the other vehicles on the road. However, are lift kits difficult to install?
Lift kits are not hard to install if you have the correct tools. In addition to your lift kit, you will need items like a screwdriver, car jacks, wrenches, mallets, nuts and bolts, and a drill.
This article will show you more about what the lift kit installation process is like. Keep reading to learn what steps you need to take to install your lift kit!

What Materials Do You Need To Install a Lift Kit?
Installing a lift kit is not particularly challenging, but it also isn’t the easiest thing in the world to do. You will be dealing with many different parts of your vehicle and will need plenty of materials to get the job done.
Lift kits come in different sizes, forms, and brand manufacturers, but each has similar installation procedures.
Some of the tools necessary for a lift kit installation on any vehicle include:
- Screwdriver. You will need this item a lot to lose screws within the vehicle’s engine.
- Multiple car jacks. You will be doing most of the job under the vehicle, so you must raise it. You may need more than one jack to fully raise your car.
- Wrenches. Again, you will be dealing with all kinds of nuts and bolts, so you’ll need wrenches of different sizes to install your lift kit. You could also use a universal wrench for simplicity.
- Mallet. If you’re dealing with an old vehicle, you will likely struggle to get certain parts to budge. You can use a mallet to hit such parts to push them out.
- Nuts and bolts. Unless you’re extremely careful, you will likely misplace a few nuts and bolts as you install your lift kit. Keep some replacements handy to avoid delaying the installation process.
- A drill. Depending on your lift kit, you may need to drill new holes. So, you will need a drill that is able to drill holes through your car.
You may need additional tools beyond the ones lifted above depending on your lift kit. Make sure to read your lift kit’s instructions before beginning the installation process, as this will give you enough time to gather all the necessary materials.
What Is the Installation Process for Lift Kits
Here is the step-by-step guide to installing a lift kit:
- Get ready to begin the installation.
- Confirm lift kit compatibility and read the user manual.
- Raise your vehicle with jacks at different points.
- Detach the tires and other parts from the vehicle.
- Install the lift kits based on type and instructions.
- Remove jacks and take your car for a test drive.
Before I expand on each of the steps, you may want to check out the following YouTube video for a visual demonstration of the installation process:
1. Get Ready to Begin the Installation
Safety is a vital factor when you are installing your lift kits. You need to protect yourself and the vehicle all through the process of the lift kit installation. You should take these three safety measures before you begin:
- Wear full personal safety gear.
- Unplug the battery of the vehicle’s engine. You need to cancel out every possibility of an electric shock coming up.
- Get a bit of help. You can call a family member or friend who may be able to help you install the lift kti.
2. Confirm Lift Kit Compatibility and Read the User Manual
Lift kit manufacturers make different kinds of lift kits for different vehicle types. Some kits will work for trucks only, while others will only work for cars that have a spring. Some of the lift kit types available include:
- Torsion lifts.
- Strut spacer lifts.
- Coil lift kits.
- Leaf spring lift kits.
You have to be sure that the lift kit you have works with your vehicle.
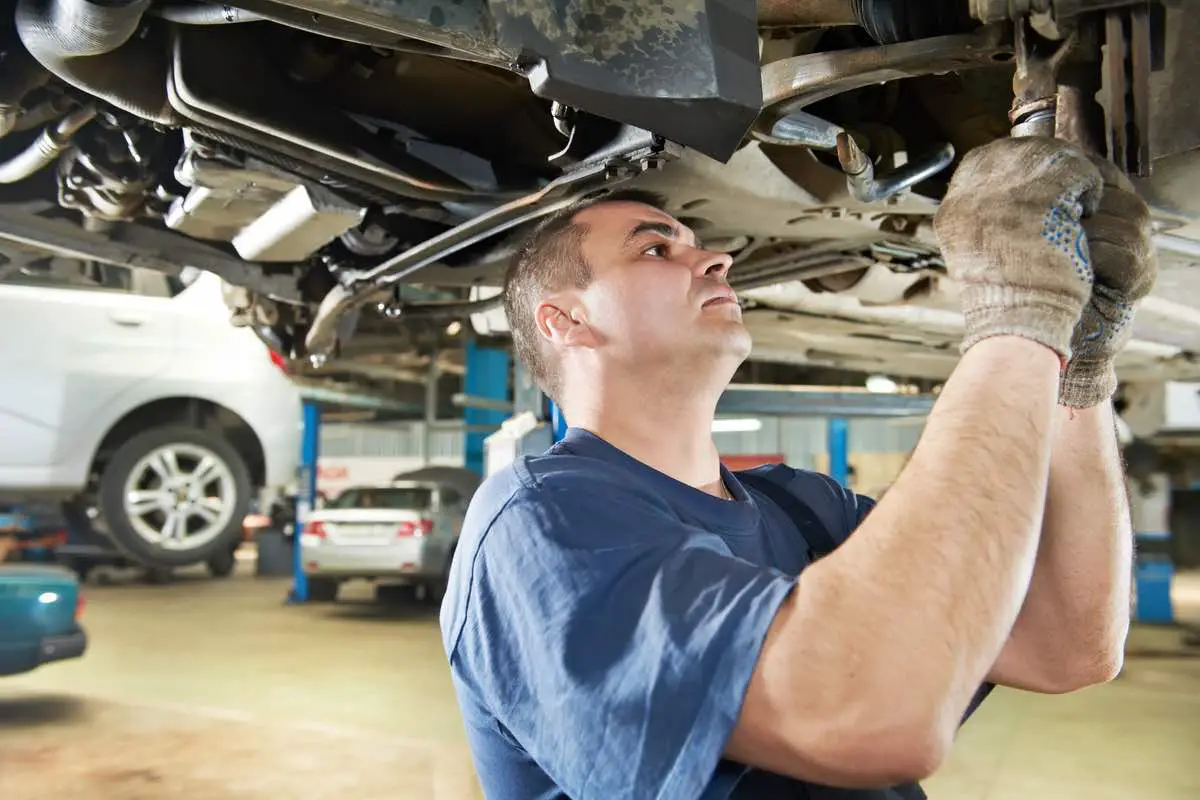
3. Raise Your Vehicle With Jacks and Choose a Direction
Most of the job for any lift kit installation happens under the car. Hence, you need to lift your vehicle to a level that allows you to install the kit.
Ensure you do not use one or two jacks, as you will need them on at least five sides: two in front, two in the back, and then another one beneath the axle.
While raising the vehicle, visualize where you want to start working. I usually prefer to work on the front part first.
4. Detach the Tires and Other Parts From the Vehicle
You will need to get your car tires and other components out of the way. Losing the tires is something every car owner should know how to do. If you haven’t changed a tire before, check out the following video for a visual demonstration:
Other vehicle parts you may need to lose include the U-bolts, springs, and shocks. Remember to read your lift kit’s installation manual to figure out what you need to replace.
Usually, lift kits come with replacement parts for each material you are detaching. So, feel free to use a mallet to remove any stubborn parts–you may not need to reuse that same part anyways.
5. Install the Lift Kits Based on Type and Instructions
Lift kits usually come with shocks, U-bolts, and even springs. You should follow the steps described in the user manual specific to your kit to install your lift kits.
These steps are usually straightforward; the only issue may be not having the necessary tools. However, by this point, you’ve already gathered all the necessary tools if you’ve been following our advice.
Install the springs (if your kit requires them) before installing the U bolts and the shocks. After that, check that you’ve installed them firmly before moving on.
6. Remove Jacks and Take Your Car for a Test Drive
Once you have confirmed everything you installed, you can return your car to its regular level.
Test run your work by taking your lifted car for a drive. Be attentive to any sounds and inspect them appropriately.
Conclusion
Installing lift kits requires a bit of expertise. So, unless you have prior experience, you may not want to try it out by yourself.
However, if you are a DIY enthusiast, you can have a go at this task. You are good to go if you have the right tools and follow the instructions in your kit and in his article.